Have you been wanting to try your skills on interior décor? The below elegant upgrade of the staircase landing return is a must-try; It is simple and is not time-consuming. If you have no formal education in Interior Design, like me, you will find the below tips handy.
Disclaimer: I only recommend products I have used myself. All opinions expressed here are my own. This post does not contain affiliate links and I don’t earn any commission, if you decide to purchase products that are hyperlinked.
First, let me share how I did this upgrade, and then I will share a few additional tips you may want to work with. Let’s start! The landing return is a part way up where there is a change in the direction of the staircase. It is a cosy corner to decorate to enhance the style of your home. Landing returns can vary in shape and size, so don’t limit yourself to how I upgraded my space. I would suggest personalise your space to your taste. No matter where you derive inspiration from, space should feel like Zen. If you do want to keep it minimal, Be my guest! Follow through.

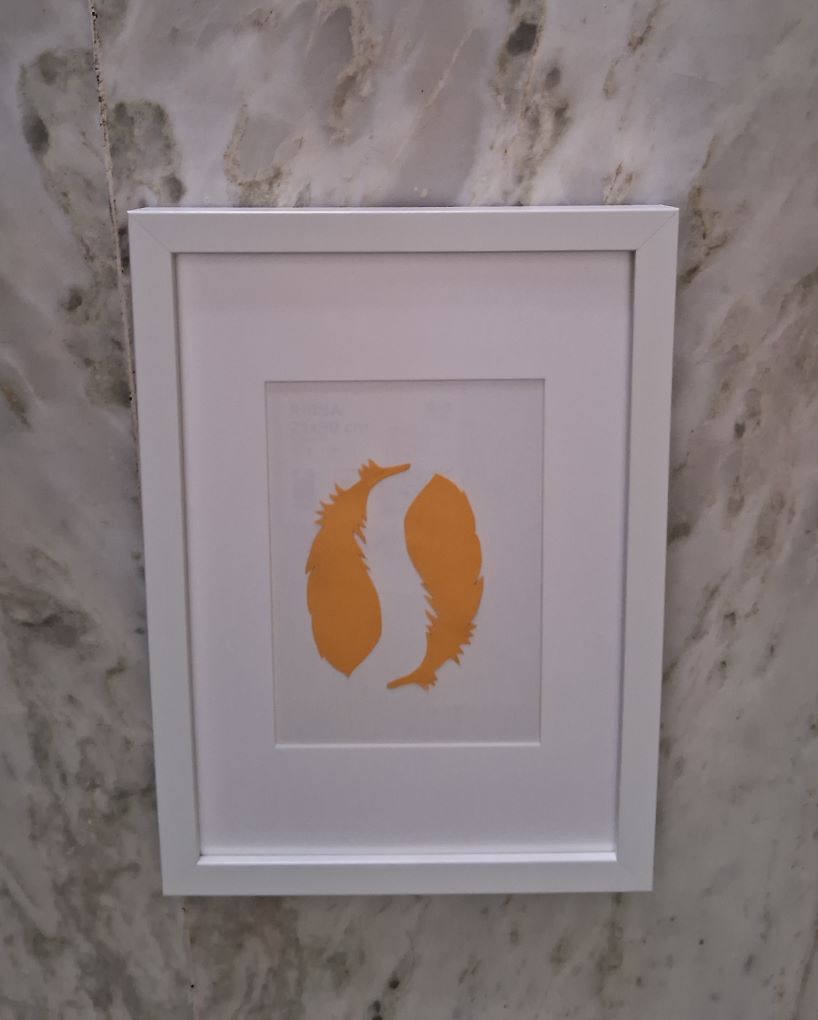
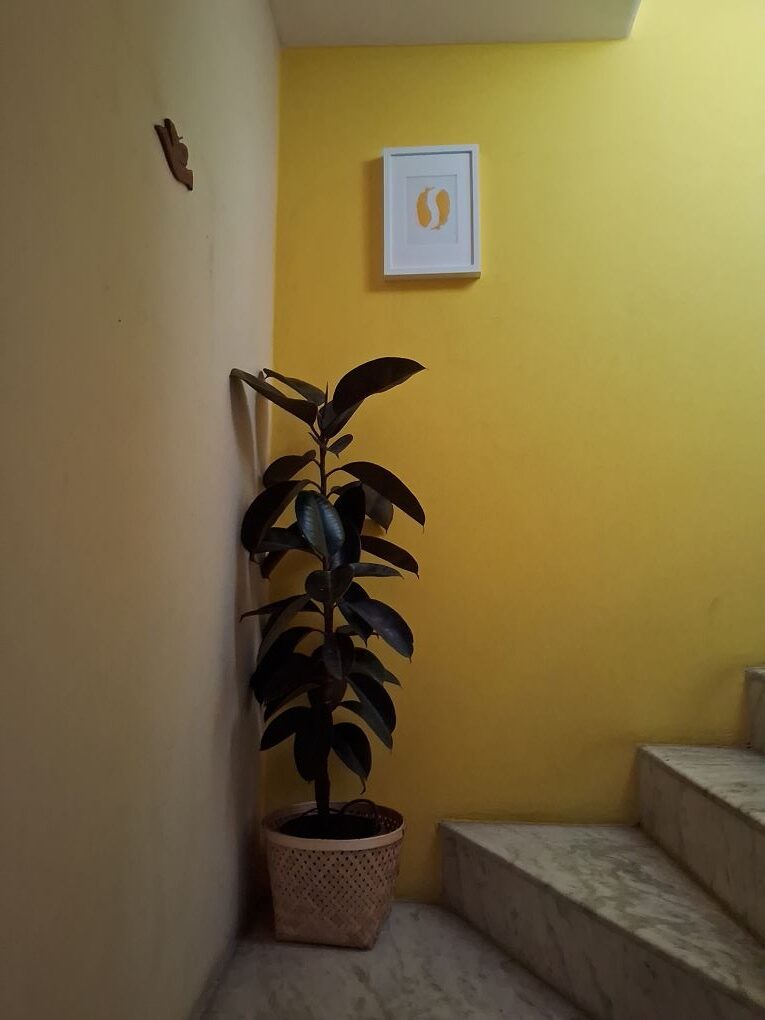
To begin with, envision your space, look at the area, wall paint colour, and the lighting. Before the upgrade, our Landing return had no character; I was sure everything in this space needed to go. After I removed everything and had a clean slate, I kept it simple since it was a small space. This space had two nails on the wall and a tiny 1-foot space to place one piece of home décor item. With that in mind, while I cut Feathers in my parallel project, ‘Better late than never! Long pending DIY home décor project #1, one of the Décor items was to place feathers in a frame. I had also decided this frame would be part of the landing return upgrade. So, that was my starting point. I checked if the frame was of a good size for this space, which it was. Then, I put the feathers in the frame and hung it on the wall.
The next thing I decided to do was to place a tall plant. Oh ok! I forgot to mention this corner also received very little sunlight, a perfect cosy space! Yet, I decided I would go ahead with placing a plant. Think outside the box! I love experimenting and improvising the unusual. Probably, a trait attached to my birth month. Grin!. I jumped right into searching for indoor plants that are beautifully straight-growing, a must for logical foot traffic. My first choice was Fiddle Leaf Fig. Right! I can hear that it is not a good choice for low-light spaces. I then decided on a Snake plant, but it did not give the height I wanted. Also, it would increase the upgrade budget as I would need a stand.
Finally, I decided on a Rubber plant with a height ranging between 130 to 142cm to link the frame. It would automatically guide the visual movement upward. The Rubber plant cost me about Rs. 300, which came in a plastic planter of 21cm in height and 24cm outside diameter. If you are in Hyderabad and around Alwal, the best place to buy plants is the roadside nursery close to Loyola College and one opposite the old Alwal playground.
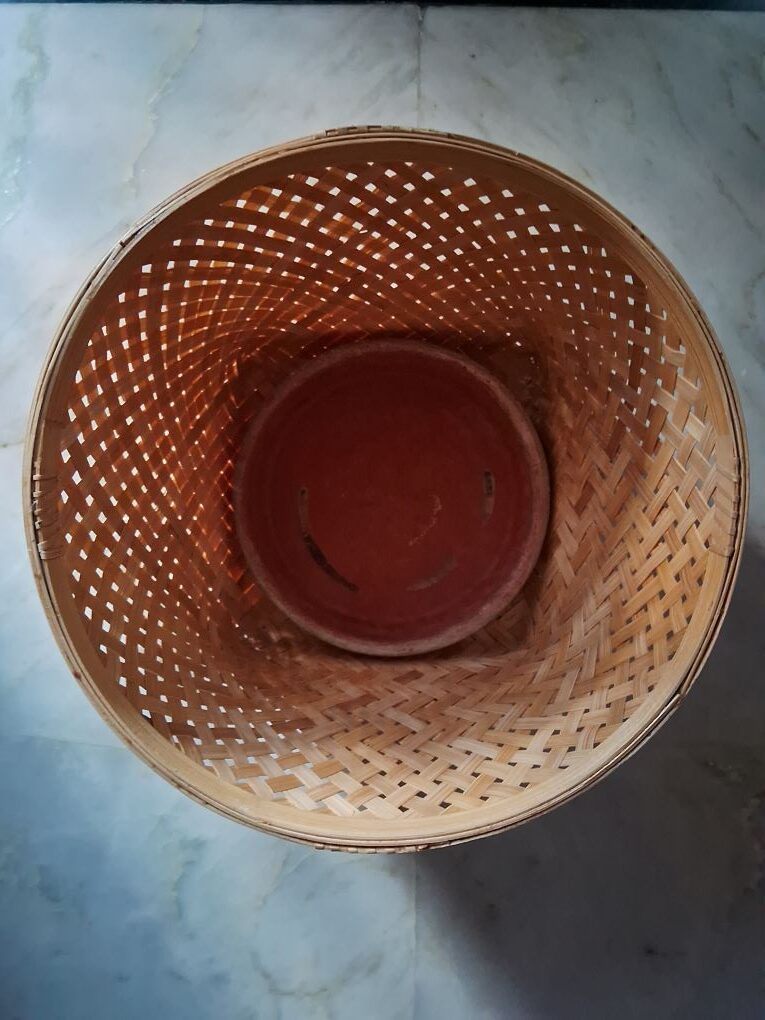
I was not setting up the plant how it came from the Nursery. I looked up IKEA and found this beautiful handmade bamboo plant pot, which cost about Rs.1990. I had second thoughts about spending that amount, again; out of the box, I looked at the baskets option to see if I could find anything for a lesser price and came across SALUDING Basket handmade bamboo, 30 cm. The bamboo shade and the shape captured my heart. The basket height was 22 cm, and I screamed (in my head), Perfect! And guess what? It cost me Rs 999.

After purchasing the basket, I remembered that I would have to leave a water drain plate/tray inside. Although I did have one unused, I was not sure it would fit in. Ha ha, that is so me! Well, my brain is trained for alternate plans if something has to go wrong. I would then obviously go for a DIY to cover the boring planter. I also had a DIY in place from Pinterest and unused bamboo mats I could use for the same.
Anyway, when the basket arrived, it was the same shade as it looked in the picture. I would do anything to use the same piece for this space; that is how much I was in love with this basket. I got the planter water drip tray, cleaned it and placed it in. It was an exact fit, and I thanked my stars, grinning like a Cheshire Cat! I placed the plant in the basket and set it at the nook of the landing return.
To complete the look on the other nail, I hung a wooden bird I had. The final cost for this minimal pocket-friendly upgrade was Rs. 1698 (Frame, Plant and Basket). If I were to add anything more to this space, I would go for a self-adhesive, battery, warm ceiling light.

In conclusion, I will give you a few tips on what else you could add to your space: Mirror, Lamp, Sleek bench, Side table, large vases, and large wall art; the options are endless and best to keep small spaces simple and minimal. There is no shame in searching for online and interior décor/design magazines for inspiration; most interior designers and decorators use this approach. The key lies in how you can personalize the space to your taste.
P.S. Watch out for the next Zen Zone project 2.
