Every milestone in a baby’s development comes with new problems to consider. So was the case when my little one began running around and started exploring things. My toddler wanted to stay in my neighbour’s house for long periods. When I reflected upon the reason, I figured out it was the free space in their living room. On the contrary, my parents kept restricting this little one from running for fear of getting hurt by bumping into things. The above situation created the need for a free-moving space.
I also wanted my bundle of joy to develop various valuable milestone skills that could only happen through independent play. The earlier you get your child introduced to this, the better. But before you teach your kid independent play, you will need a safe space for your baby. This space has to be a non-personal space for friends/family to engage or watch over your kid while you are busy. What better than the living room? Oh! But my living room is small. I had the same problem when I wanted to create a play area for my little one. But I did it anyway; you also can.
This house was pre-built when we purchased it. Therefore, there are challenges when replacing, rearranging or creating space for a new home appliance. Imagine making a play area in a narrow rectangular living room. Our living room had space barely enough to walk, but now my little one can do about anything in it. Let me walk you through how I created a play area in a small living room.
When planning a space for your kids, the first thing to do is ensure their safety. We have an open-shelf TV table with a switchboard with plugged-in cords. Hence, I decided to get that covered. For a Montessori, the most prominent piece of furniture and possibly the only one needed is a toy storage shelf. As we could access the switchboard from behind the TV table, I decided to make a custom-made shelf that fits beneath the TV table. Before you purchase new furniture, especially when working in small spaces and on a budget, the best way around designing is to repurpose old furniture. That is what I did (I will talk about how in my next post).
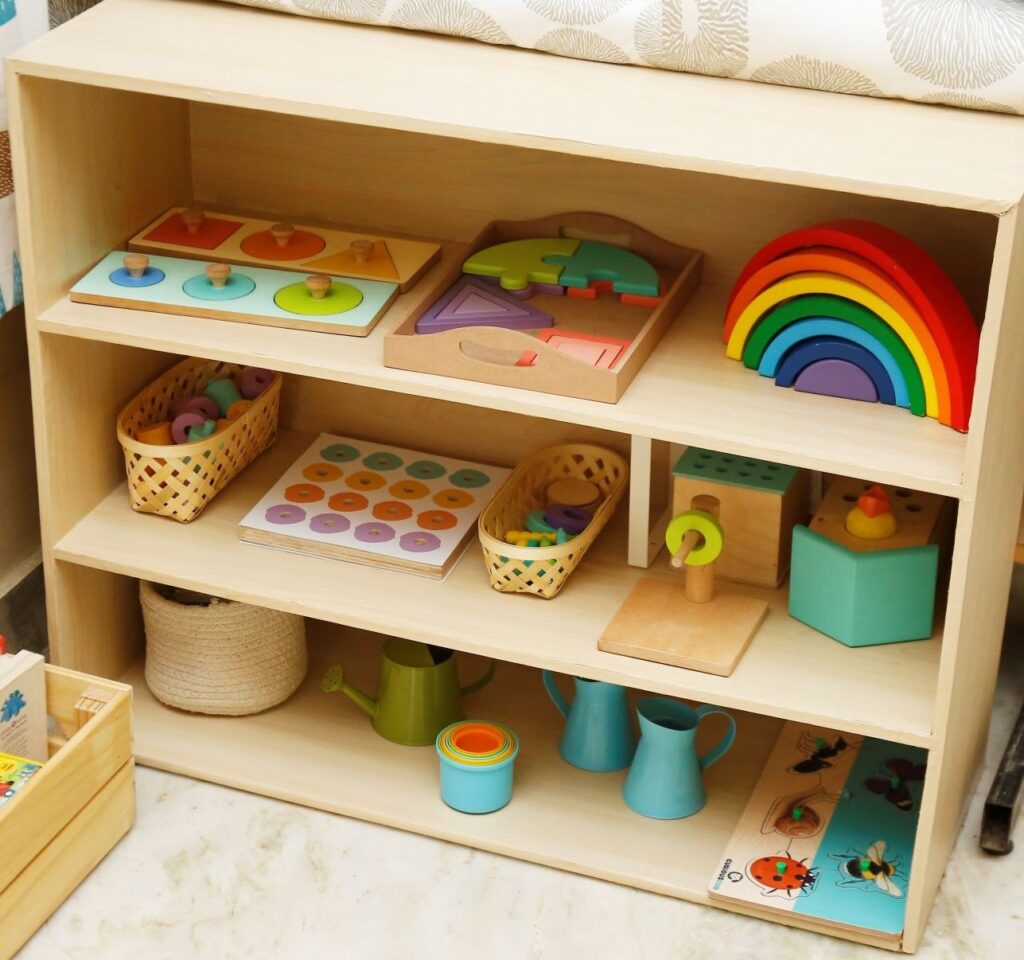
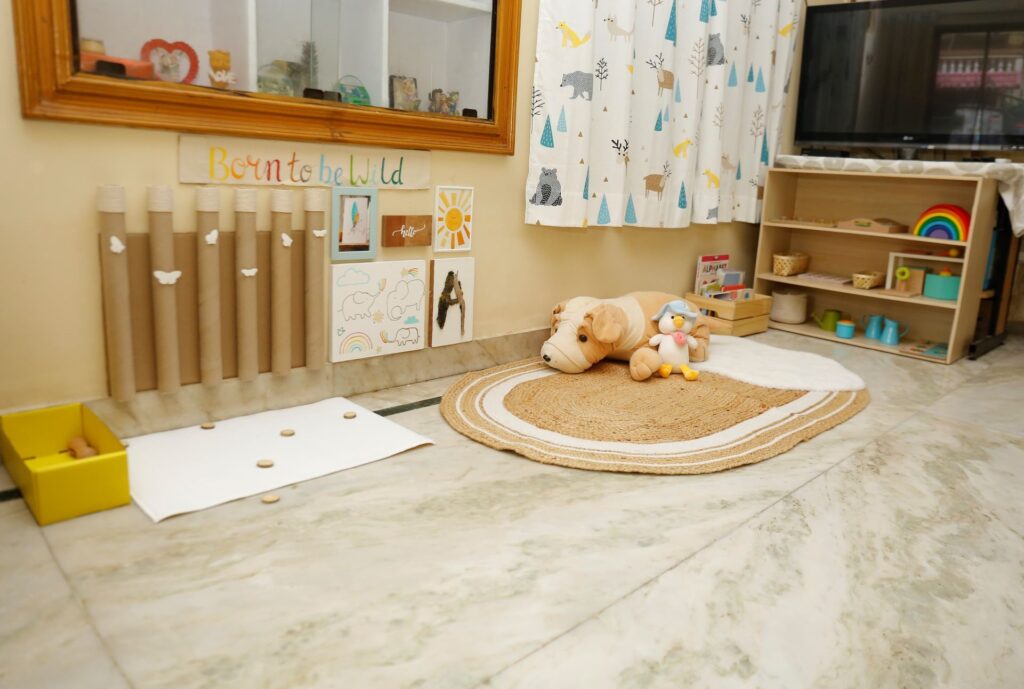
The next big step was to create free space for my little one to access the open shelf. I repurposed one old piece of furniture into a Montessori shelf. By doing so, I created space to move one big piece of furniture (Divan) from the hall into the master bedroom. Further, moving the existing sofa set a little behind shaped a perfect space for the play area. To define this space, I placed a rug. Sadly, this was all the space I could create in the living room. But I had this beautiful playmat. I so wanted in this play area. Therefore, I decided to layer the playmat on the rug and voila! It worked just as planned for me: I loved it.
Disclaimer: I only recommend products I have used myself. All opinions expressed here are my own. This post does not contain affiliate links and I don’t earn any commission, if you decide to purchase products that are hyperlinked.
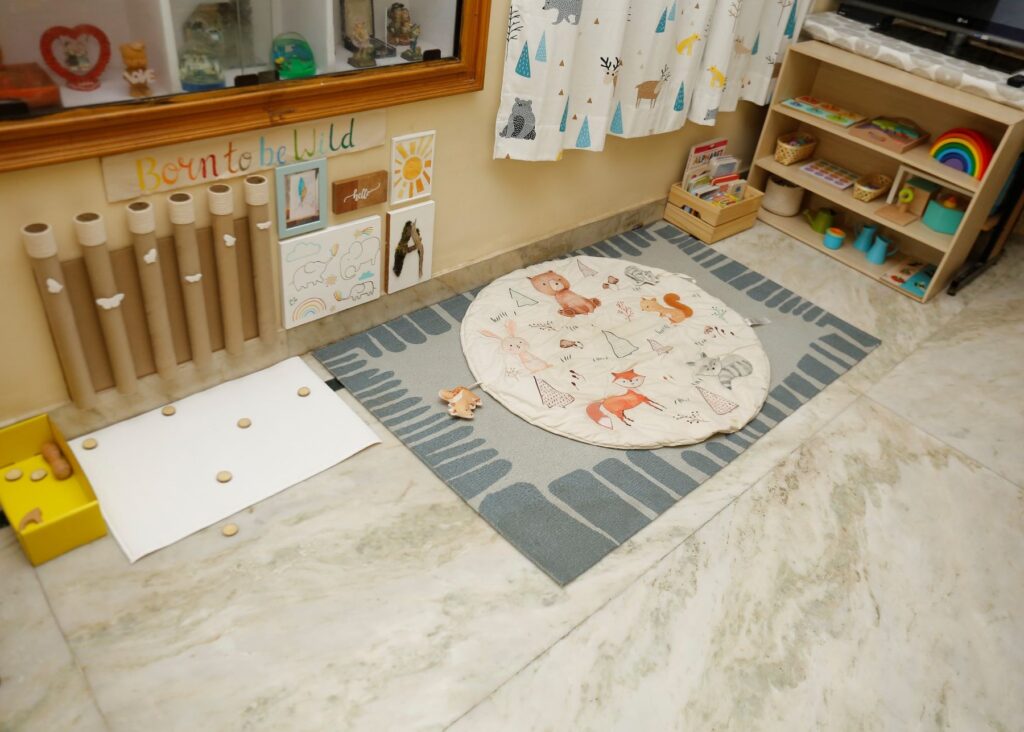
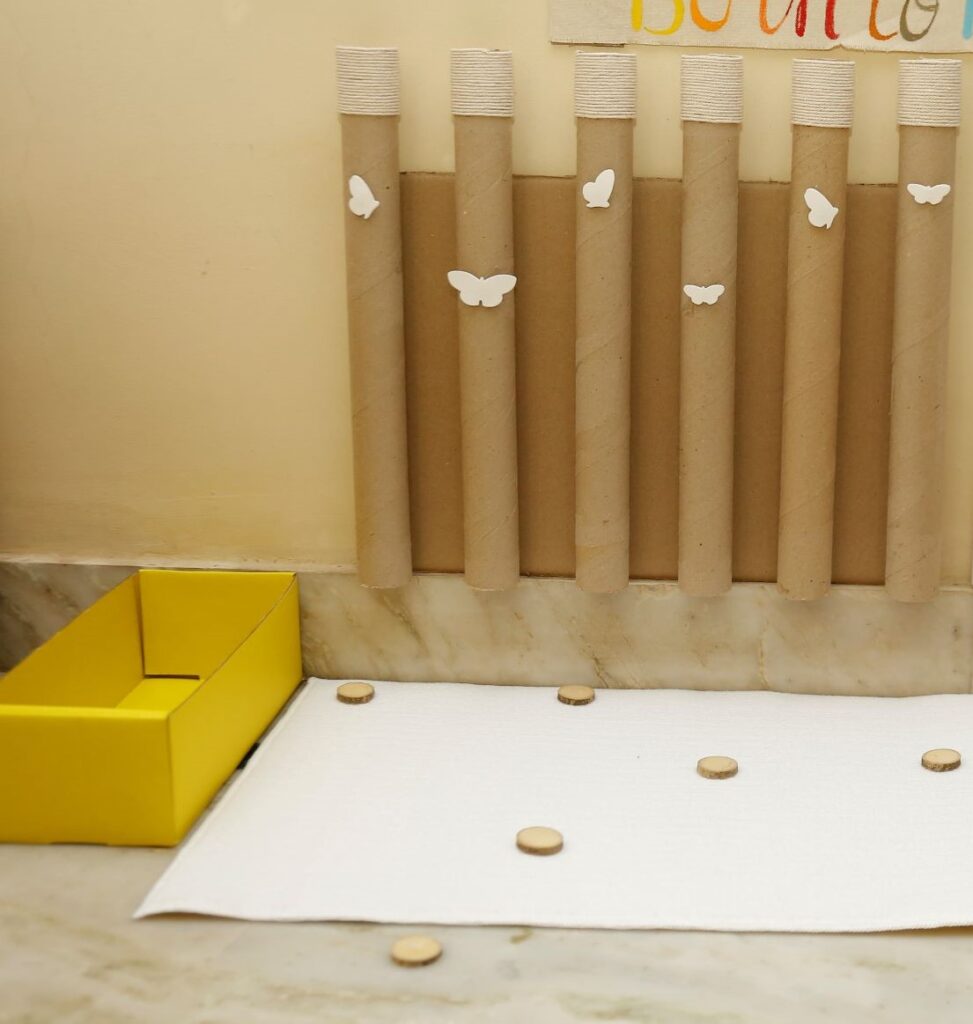
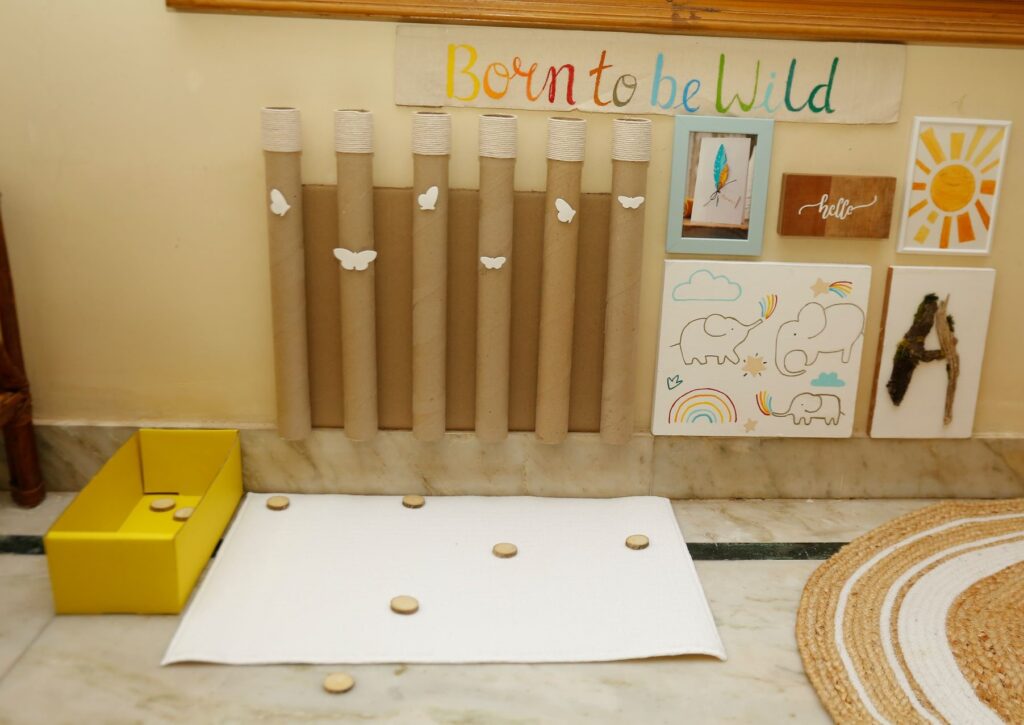
One key feature was a gallery wall and to incorporate fine motor play. I chose to repurpose cardboard tubes from the self-adhesive paper rolls I bought for the open shelf. I made a Wood Disc Drop wall game. I will be shortly adding more interesting natural materials to drop through. For now, my little one drops wood discs and wooden rattle successfully. My kid also tried to put the wooden elephant teether and interlocking disc but learned not everything can fit through.
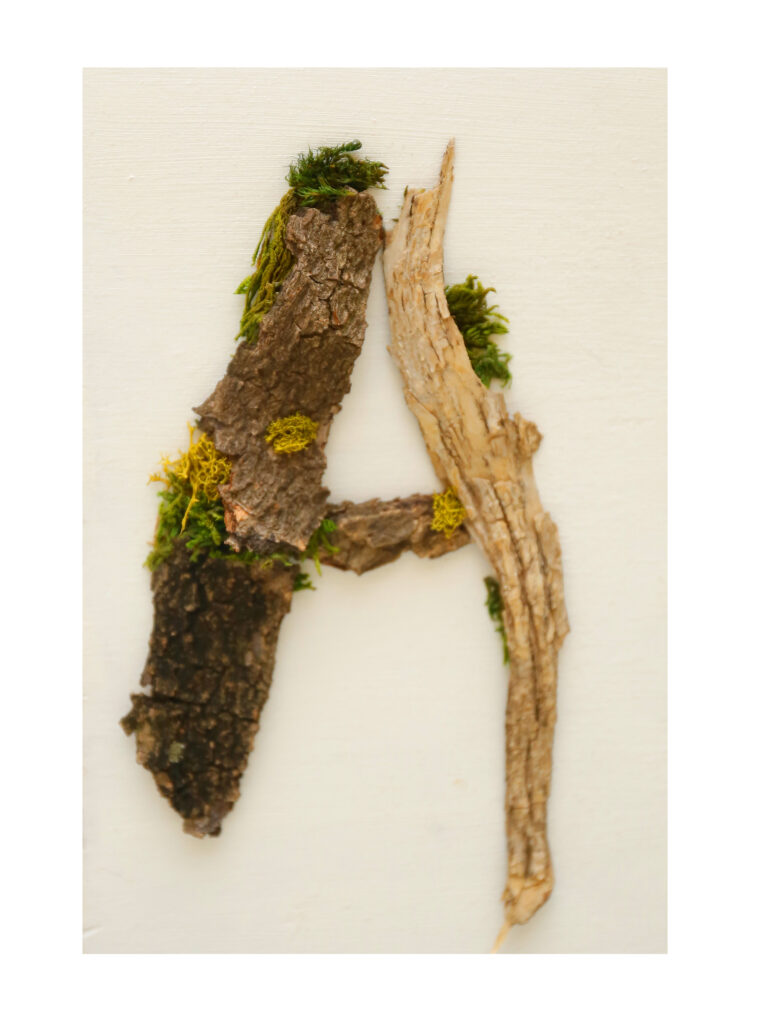
Being a creative DIY enthusiast, I wanted a more meaningful gallery and did not want to spend on décor. Therefore, I painted a cute sun from natural paint (My friend Bhargavi (owner – of Prakriti Eco-play) is doing great work on sustainable art; one of her products is natural colours). This painting depicted the meaning of my child’s name. I repurposed two leftover old wood planks into three art pieces in the gallery. My favourite is the letter A made from fallen bark, collected while on a stroll in the neighbourhood with my toddler. I also included a caption that reflected my kid’s personality. I painted the caption on a leftover canvas cloth from another DIY project.
Finally, I changed the window curtain to a kid’s curtain. I found this beautiful print with vibrant shades of yellow, brown, aqua, blue, Black and grey. It blends perfectly with the accent wall in the living room, which is also painted yellow. I placed a wooden crate for the books just adjacent to the shelf. I then organized the toys, which helped me manage the clutter. I also intend to do a monthly toy rotation to keep my little ones’ interest intact and to maintain a minimalistic approach. Doing so will also keep us from getting overwhelmed with toy clutter. The big doggy (soft toy) acts as a pillow to avoid bumping into the wall while having the wild cap on.
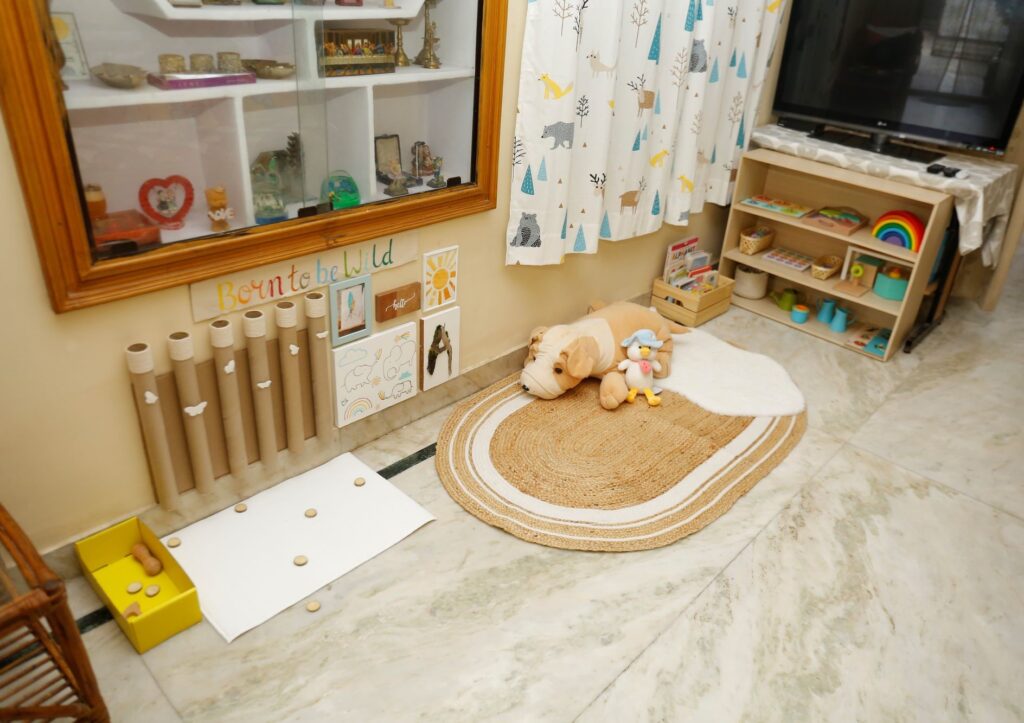
Upon setting up a play area in the living room, I knew our house had so much potential. Repurposing one old cot into an open shelf gave me space to create a beautiful cozy play area. Similarly, converting the leftover wood planks to wood canvas helped save costs. Because I had the wooden crate, I did not have to invest in a bookshelf.
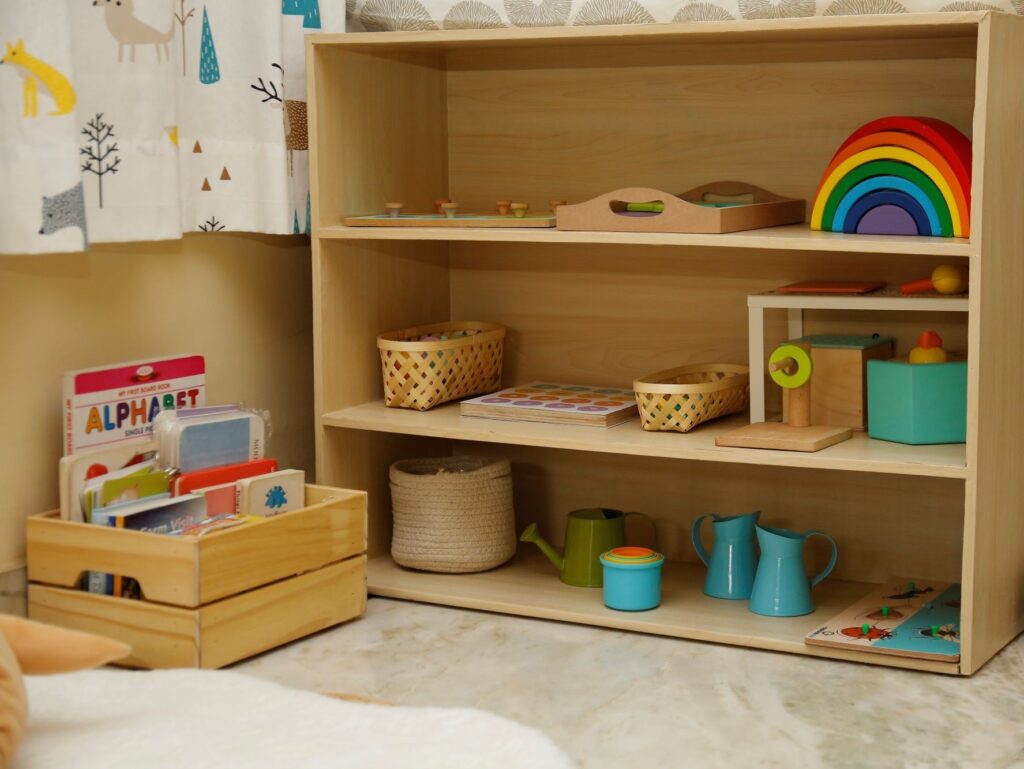
But I did spend on the floor rugs, playmat, and the play and learn Montessori boxes, but purchased as per the need of the hour, way before a play space became a reality.
Did I spend money enhancing the look of the space? Yes! I did purchase a jute rug to anchor the décor and furniture in the living room. I also changed the tablecloth and the window curtains to make the space more childlike yet complement the remaining area that continues as before.
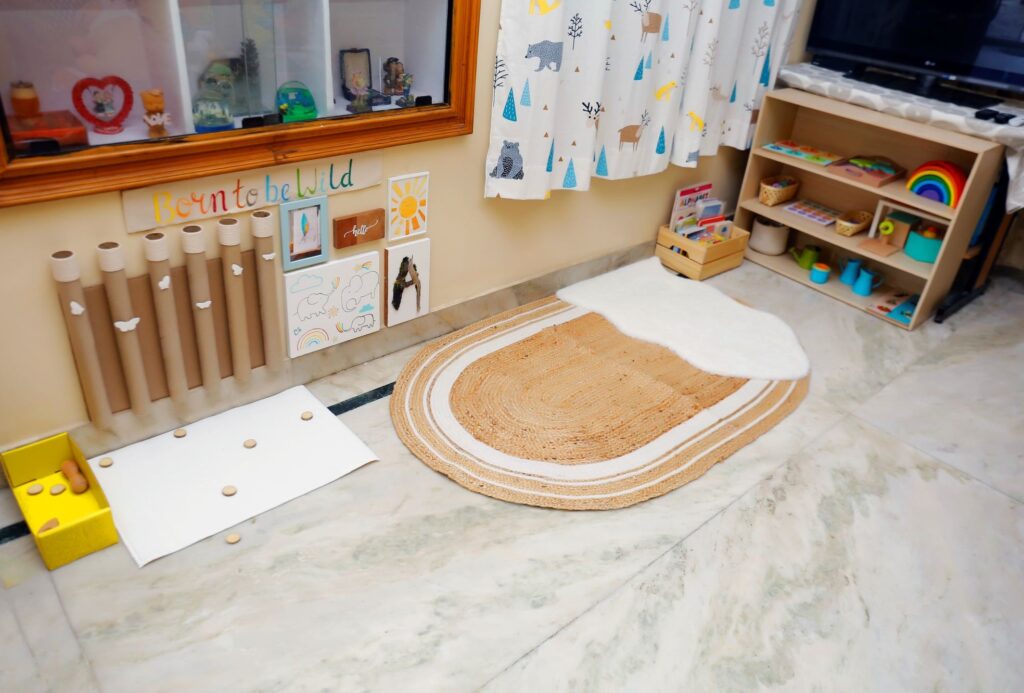
In conclusion, I hope this post inspires you to create beautiful eco spaces for your adorable little humans. Also, let me remind you that ‘Play is the highest form of research for a child‘. Subconsciously, they are learning such valuable life skills. Introduce them to the beauty of nature, and let them have fun around animals and plants. Take time out to be around them. If you lack time in your busy schedule, find a space that resonates with this belief system or get someone to create one for you.

Just in time.
I was just figuring out how to use our space for my little one. This piece of information was helpful to think through a lot of stuff and do a little DIY to make our space safe and special.
Great going
Glad the information was helpful Ash… Thank you… 🙂
Nice!!
Thank you 🙂
A very well thought out plan. Re purposing the old furniture is sustainable and makes it budget friendly. Great work!
Thank you 🙂
A very well thought out plan to use the space and a very sustainable plan. Re purposing of old furniture for the decor is great and budget friendly. Great work!!!
Nice
Thank You 🙂
Thanks
Lovely ..glad that ur back to what you love
Thank You 🙂
Thanks